Tuesday, May 22, 2012

Day 6 - Viewing Acid Fast, Capsule, and Endospore Stains

Today, we returned to the scene of the crime. Our mistake of a day yesterday was fixed up and we are good to go. First we looked at the original throat bacteria that we gram stained. This was properly fixed and heated this time. This is what they ended up looking like:

Grace's throat - Gram positive, Cocci
This was deemed to be Gram positive because it held the dark stain of the crystal violet and did not pick up the safranin color. When looked more closely in the view of the microscope, you can see the patches of circular bacteria, making it cocci. 

Next, we took a look at our capsule stains. This type of slide shows that there is a capsule when there is a white glow outline around the bacteria, with the small line of the bacteria on the inside. This is because the stain will hold to anything but the capsule. In our slide, you can see some of the bacteria that have a capsule stain. 

Capsule stain
The acid-fast stain is the next one that we will look at. It will be a positive match for an acid-fast bacteria if it held some of the red color from the carbol-fuschin. This would mean that, even after adding the acid-alcohol, which is a decolorizing agent, it held on to the dye and was not stained with the methylene blue in the end, which is the counterstain. In our bacteria, we found all of the bacteria to be blue, stained with the methlyene blue, proving that our bacteria is not acid-fast. 

Acid-Fast Stain - Negative Result

The last stain that we did was the endospore stain.  A positive result, showing the existence of endospore stain, would be green stain on the slide. The endospore's protein coat on the outside will resist the color of most stains. Malachite green on high heat is on of the only ones that will stick. This slide shows that there is only the pink color. This pink color means that the bacteria held onto the safranin and none of the Malachite green, meaning that there are no endospores in this bacteria.
Endospore - Negative Result
Today in lab, we also looked into the workings of an anoxic jar. This is a jar that will allow for the anaerobic atmosphere that some bacteria grow better in.  The GasPak will generate CO2 and H2. The oxygen in the atmosphere will react with the H2, forming water, and the environment will be anaerobic. The methylene blue indicator strip turns blue with oxygen. This is an indicator to see if the GasPak worked properly. We took streak plates of each of our bacteria, and placed them in the jar. We will return tomorrow and see if our bacteria grows in carbon dioxide as well as oxygen. 

Anoxic Jar
*App of the Day - Some bacteria will only grow in the carbon-dioxide/non-areobic environments. These are call obligate anaerobes. These are the type of bacteria that will only grow in the anoxic jar. An example of this is Prionibacterium acnes. This is the bacteria that causes acne. Because this cannot survive in the oxygenated environment, exfoliating, allowing oxygen to enter your pores, is one of the best ways to get rid of acne. 

Day 5 - Acid Fast, Capsule, and Endospore Stains

   To start off our day, we scared one of our teammates with a bug we found outside. :P After that entertainment was over, we started in on the staining. The goal for the day is to finish up the gram staining from the day before and to complete capsule, acid fast, and endospore stains. This will aid us in fully figuring out what type of bacteria we have as our sample.

  The first staining that we did was the redo of the Gram staining of the bacteria from Grace's throat. We went through the procedure from the day before. This means that we  placed the slide over the smear rack, and covered the sample with the crystal violet for twenty seconds. After rinsing this off, we covered the sample in Gram's idonine for 1 minute, rinsed this off and put drop by drop of 95% ethanol until no color came off with it. We rinsed this and then added safranin, which we left for one minute. Lastly, we rinsed this off and blotted with bibulous paper. We will wait until tomorrow to view this stain along with all of the others. 

   To begin the first of the new stains, we began a capsule stain, as seen below. This procedure begins with a small drop of nigrosin placed on a slide towards one of the ends, and a small amount of bacteria inoculated into that drop (following aseptic technique below).

After re-sterilizing the inoculating loop in the Bunsen burner, another slide is used to spread the bacteria-nigrosin drop over the initial slide at a 30-45 degree angle; we then allowed the slide to air dry, followed promptly by staining with safranin on top and then gently rinsing the whole slide. The point of this stain is to leave some lighter areas to be able to see bacterial capsules or slime layers.

Our final product :D
    With the finishing of this stain, the next followed and after a slight dilemma of spilled gram's safronin and a rather wasteful use of ethyl alcohol, we moved on to the endospore stain. This procedure consists of holding a fixed bacterial slide over a beaker of boiling water while placing a piece of bibulous paper on top of the slide, and saturating it with malachite green for 6 minutes. After this, the paper is removed, put in a biohazard bag, and the slide is rinsed for 30 seconds, covered with safranin for 90 seconds, rinsed again, and blotted with more bibulous paper.

Rinsing the slide, showing the fight with gram's safranin on my fingers and the sink as well.
  The acid-fast staining process was very similar to the endospore stain, because it also used a fixed bacterial slide over a beaker, to stain the bacteria. This time carbolfuchsin was used instead of malachite green, and stained for 3-5 minutes, while saturating bibulous paper over the slide just as in the endospore stain. The paper was removed after the aloted time and put in a biohazard bag, the slide was rinsed, decolorized with acid-alcohol until color stopped running off, rinsed quickly again, and covered with methylene blue for 2 minutes. The bacterial stain was rinsed again, and blotted with bibulous paper, ready to be examined tomorrow under the microscope.


The lineup of model slides ready to be critiqued in lab tomorrow. Hopefully all celullar structures are now enhanced.

* App of the day: The reason a stagnant bucket of water is slimy, is becuase bacteria is growing on the sides, and protect their territory and growth with a slime layer over their cellular membrane.


Friday, May 18, 2012

Day 4 - Bacteriophages and Gram Staining

First thing first, we checked out previous cultures. We looked at the experiment we did with the bacteriophage on the previous day. For one of the bacteria, the bacteria grew on the rest of the plate but not where the bacteriophage was spread in the shape of the letters FUS (Franciscan University of Steubenville). On the other plate, there was bacteria growing everywhere, even where we put the bacteriophage, meaning that the bacteriophage had no affect against that bacteria. The bacteriophage was host specific to the first bacteria. The broth culture prepared with the first bacteria and with the bacteriophage produced less bacteria then the straight bacteria. This confirms that the bacteriophages attack the bacteria and allows less to grow. 

FUS Bacteriophage Test
Part One

We learned how to prepare a gram stain. This experiment will be done on two bacteria cultures that we have gathered in the past couple of days: the streak plate taken from the bacteria on Grace's throat and the streak plate made from the given bacteria incubated in the broth. 

Left: Grace's throat sample, Right: Broth culture sample

For the first part of this experiment we had to prepare a bacterial fixed smear. This was found on p. 87 of our lab manual. First, we wrote the indicators on the edges, so that we would not confuse the two bacteria. Next, we added one small drop of water to each. In this water, using aseptic technique, we added the bacteria, each sliding having one sample from the two being tested. After letting this dry, we allowed it to set by passing it over the bunsen burner flame three times, so the bacteria would not be washed away with any of the liquids being used. The bacteria was then smeared and ready to be stained.

The whole set up for bacteria staining. :)

The process for the Gram staining is as follows: (1) We placed the slide over the smear rack. (2) Next we covered the sample with the crystal violet for twenty seconds. (3) After rinsing this off, (4) we covered the sample in Gram's idonine for 1 minute. (5) When this was rinsed off, (6) the next step was to put drop by drop of 95% ethanol until no color came off with it. (7) We rinsed this and then (8) added safranin, which we left for one minute. Lastly, (9) we rinsed this off and (10) blotted with bibulous paper. The bacteria is now properly stained!

Smear rack used for staining.

Now we will take a minute to explain what each step did. The crystal violet is the blue die. This would have remained on the stain the most adhesively if it was the gram positive. Gram positive has a thicker cell wall, more peptidogylcan and will hold the darker stain because of the crystals it forms with Iodine in the peptidoglycan. The ethanol was to wash off any excess die that was not taken up into the cell walls. Lastly, the safranin, the pink dye, would have attached to anything that did not have the crystal violet stain. This meant that if it was not gram positive that held the crystal violent die, but held the safranin pink dye, then the bacteria would be gram negative.

For the sample given to us and put into the brother culture, the end color was pink, meaning that the crystal violet dye didn't take and that the safranin did. This is an indicator that it is gram negative. The shape on this was found to be bacillus- long chains of rod shaped bacteria.
Broth culture bacteria - Gram Negative, Boccilli 

Our results for Grace's original throat smear showed that the bacteria was a gram positive but we heated the sample too long, and we will go back Monday and retry this stain. Until then, have a good weekend!


*App of the Day - This type of staining is the regular staining that is used in hospitals to determine the what type of bacteria are in samples that they take. They will regularly check their hospitals for Staphylococcus, especially the MRSA strand, because it can frequently pop up and needs to be strictly monitored. 

Thursday, May 17, 2012

Day 3 - Create Streak Plate, View Living Bacteria, and Test Host Specificity

Today, after following normal entrance protocol, of course, we gathered our streak plates and broth cultures from yesterday. Let's see what we grew. 

Woah! Just look at that bacteria!


Part One

First, we prepared a streak plate with the broth cultures that we had incubated. The streak plate should separate the cultures into colonies that we can later analyze more closely. 

Disinfecting our wire loop before preparing the streak plate. 
The procedure to prepare the streak plate was as follows according to the aseptic technique: (1) We first disinfected the wire loop. (2) We opened the top of the broth culture and (3) disinfected the top both before and after.  (4) We then inserted the wire loop into the culture taking out a droplet with it.  (5) We put this on the streak plate in the pattern shown in the previous post.  (6) Lastly, we set this into the incubator at the 25 degrees C and will look at it again tomorrow.

Part Two

Next, we viewed the movement of the bacteria we grew. We  looked on page 84 of our lab book Techniques in Microbiology: A Student Handbook.


To do this, we needed to prepare a hanging drop slide, which will allow us to see the movement of the bacteria. We took a depressed slide, one that has a circular depression in the middle, added Vaseline to the corners of the cover, and placed a drop of our bacteria on the cover. After doing this, we placed this on top of the depressed slide. The virus should be able to swim back and forth, allowing us to see it clearly.


We, after a little help from Dr. Joseph, found some lively bacteria, moving up a storm. This video represents what we saw, but doesn't show the movement as well. 


After this video, we took proper measures to dispose of the slide and moved on to the next topic.

Part Three

The last thing that we did today was test viruses for host specificity. The best way to do this is to look at bacteriophages and see what different bacteria they will and won't attack.

Bacteriophage
A bacteriophage is a virus that will infect a bacterial cell. They do not have a wide host range, meaning that they are very specific as to what type of bacteria they act against. In our experiment, we tested two types of bacteria (Staphylococcus aureus and E. coli) with one bacteriophage.

The procedure for this was done by Dr. Joseph in the lab. He first labeled the back of the test tube with FUS so that we can see where the bacteria will not grow. He then swabbed the whole surface of an agar test plates with bacteria, one for each bacteria being tested. Next, he added the bacteriophage to where the FUS lines were. We put this into the incubator and will wait until tomorrow to see what comes of it!

*App of the Day - The host specificity is why we do not have to worry about getting diseases such as cow pox from other animals. These diseases are specifically aimed at the host that they naturally occur on. They may affect us in a limited way if we humans are close to the species being affected. For example, cow pox will not cause the full disease in humans but may cause skin lesions. But, bacteriophages which are viruses meant to attack bacteria will not affect a human host in any way, because the genetic make-up is so different. The spread of swine flu developed off of a mutation that came from the origination swine disease, but mutated enough to now to affect humans as well. 

Wednesday, May 16, 2012

Day 2 -Cultures, Smear Plates, and Broth Innoculations


This bunsen burner is ready to go for a brand new day of lab. Are you?

Today we learned how to do a streak plate and inoculate bacteria into a broth culture, after examining the cultures from yesterday. According to the incubated yesterday's, we managed to grow a lot of colonies. We also learned how to examine the growth patterns of bacteria by determining the characteristic features of a colony's form, pigmentation, margin, and elevation. Using aseptic techniques, we left the lab as clean as we found it, ready for a new day of microbiology tomorrow at 8:15.

We entered the lab today, and following procedure we all donned our lab coats, washed our hands, and sprayed the lab bench with lysol. Following this preliminary cleaning, microbiology class 2012 opened the incubator to find that our hands are not as clean as they appear; most of us had bacteria with slime excretions hangin' out on our skin.

After this, streak plates were the next line of business. In this process, we drew out the streak pattern we were going to follow, and after sterilizing the loop, we picked up some bacteria from my throat culture, and began isolating it by slowly draging it across the surface of our agar petri dish, like so,
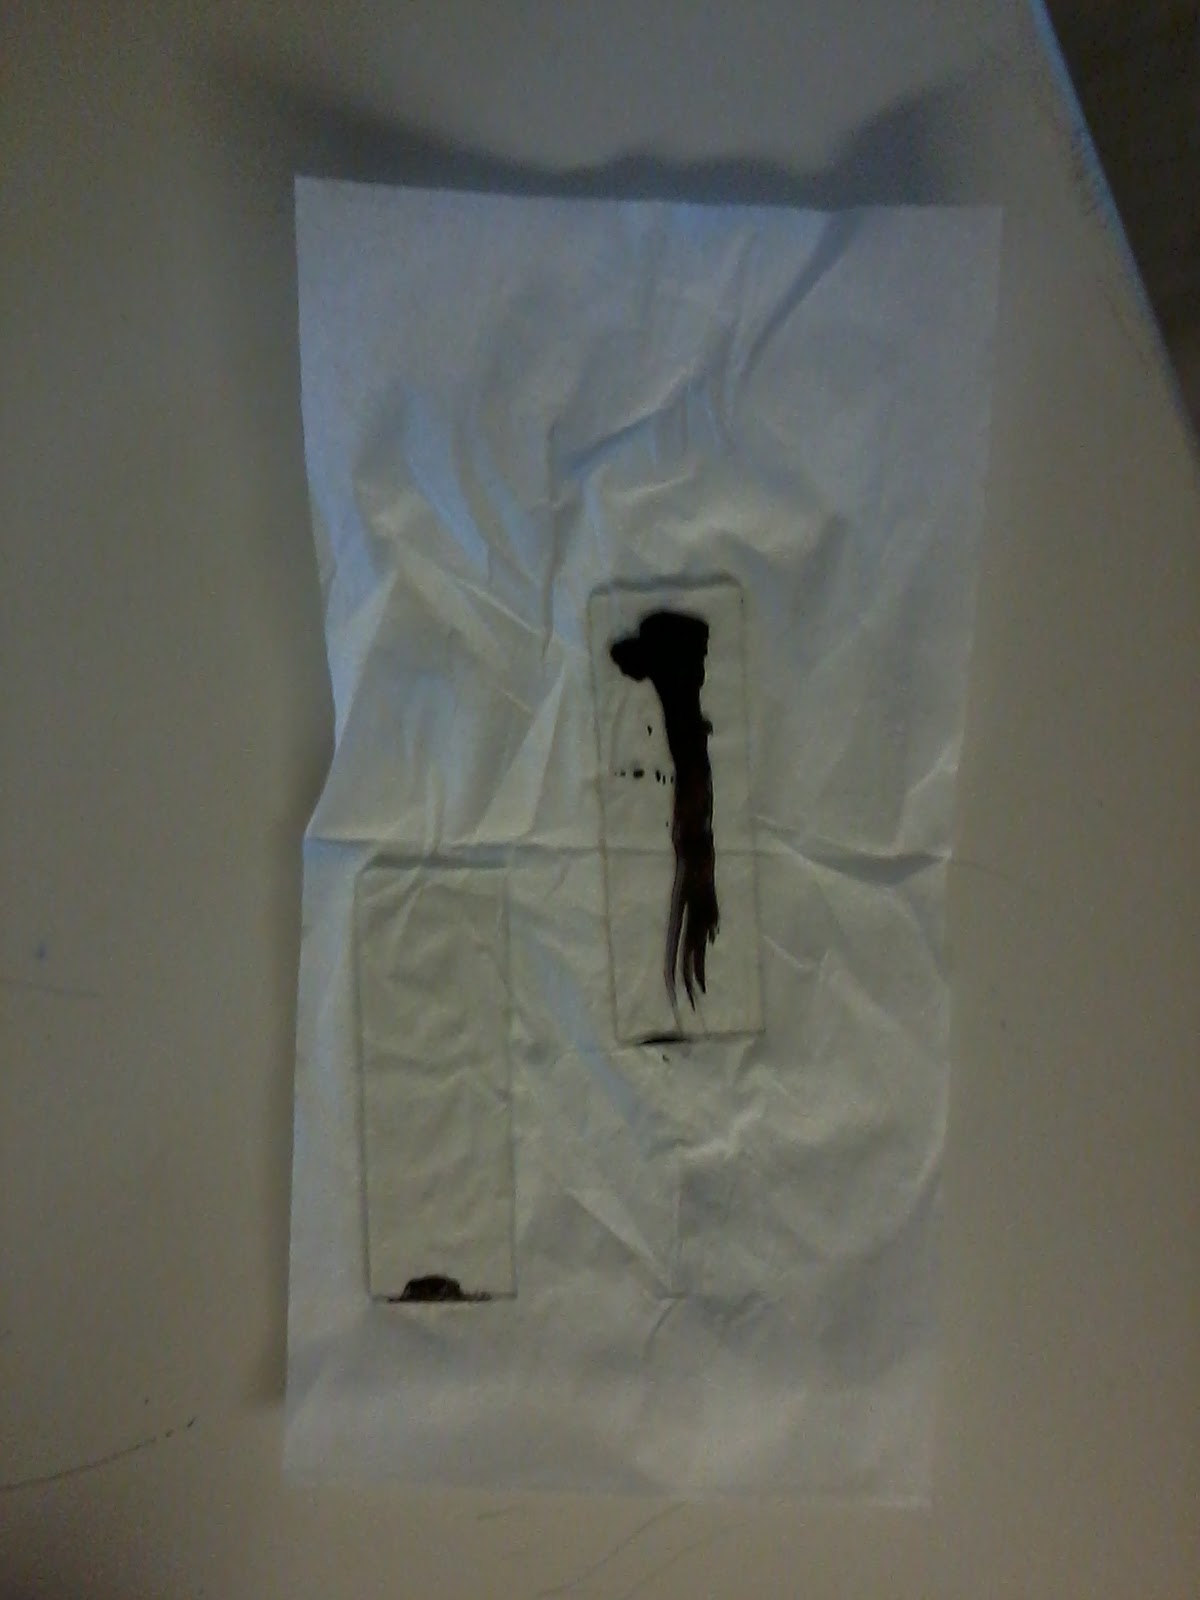
Streak Plate Design
After each streak, the loop was sterilized and the bacteria spread out more and more until, hopefully on streak 3, each type of bacteria is isolated.

Then came our sample bacteria from Dr. Joseph. First we sterilized the loop, took off the cap of the agar tilt sample, waved the top of the test tube through the flame of the bunsen burner, and (after hitting the loop against the sides of the test tube to cool it off a little) picked up a colony of bacteria, and returned the cap of the agar test tube after waving it again through the flame. Then, taking the cap off the sterile broth, waving its top through the flame, we used the loop to deposit the bacteria into the broth. After taking the loop out, waving the opening over the bunsen burner, and returning the cap, we wait until tomorrow to seek the fruits...or not so fruity results of our labor.


A close up view of the two bacteria on the back of Grace's throat.
These particular bacteria were both raised, cirucular, cream-colored colonies, with a glistening body, and an 'entire' edge.

Using aseptic technique, all the microorganisms on the loop are killed- sterilizing it for use as a bacterial transport into the broth culture

Our completed streak plate, ready to be put in the incubator.
Our super-cool pink bacteria ready for dinner in the broth!!!

* App of the day - The way that these streak plates are done is the same procedure that they will do in the hospitals. There are thousands of bacteria living on us every day. To determine which one is causing the problem, we have to perform certain measures to isolate the bad from the good. 

Day 1 - Lab Rules and Culture Prep

First day of lab: COMPLETE! Today we received the basics: entrance procedure, drawer materials, incubating techniques, sterilizing techniques, Agar solutions, and bacteria cultures. We are now armed with all the proper knowledge to get us through... until tomorrow. 


Here we are in the microbiology drawer with all our tools to conquer the micro-world! All we need is a little bacteria....

Today Grace had her throat swabbed, no not for a drug test, but for bacteria :) With a cotton swab, a tongue depressor, and a petri dish, the year starts out quickly.

Looking at Streptococcus makes me wonder.... maybe the bacteria will just jump out at me.... give me a little impetigo, then some rheumatic fever, and accute glomerulonephritis.... just some food for thought.

*App of the Day - The entrance procedure is extremely important. Imagine one of your family members working at a research unit. That day, he forgets to wash his hands properly before leaving the lab. Now, whatever bacteria or virus he was working with, it is in your home. We have to be careful not to transfer the specimens that we are researching. We need to be aware of how these viruses spread, not just now, but in our future as nurses as well.

Tuesday, May 15, 2012

Welcoming Statement

Me (Grace) looking super awesome... not even looking at a slide...LOL.

Welcome to Grace and Theresa's  Medical Microbiology blog. So here's the dealeo. We are taking this awesome, jam-packed, overwhelming, two and a half week mini session at Franciscan University of Steubenville. This class is with Dr. Joseph Pathakamuri and this blog is one of our assignments for said class. But don't you worry; this isn't just going to be any old blog. This blog is going to be, yes, educational, but on top of that exciting and entertaining. Dr. Joseph's main point in class is always to make sure that we have the WOW factor. This blog will make sure the WOW factor is there in a fun, light, exciting way.... enjoy. :)

Each day, you can look for what we will call the "App of the Day." No, this is not for the iPhone, but instead, is the daily application. There is not much point of learning all of this information if you can't apply it and bring it into your everyday life.